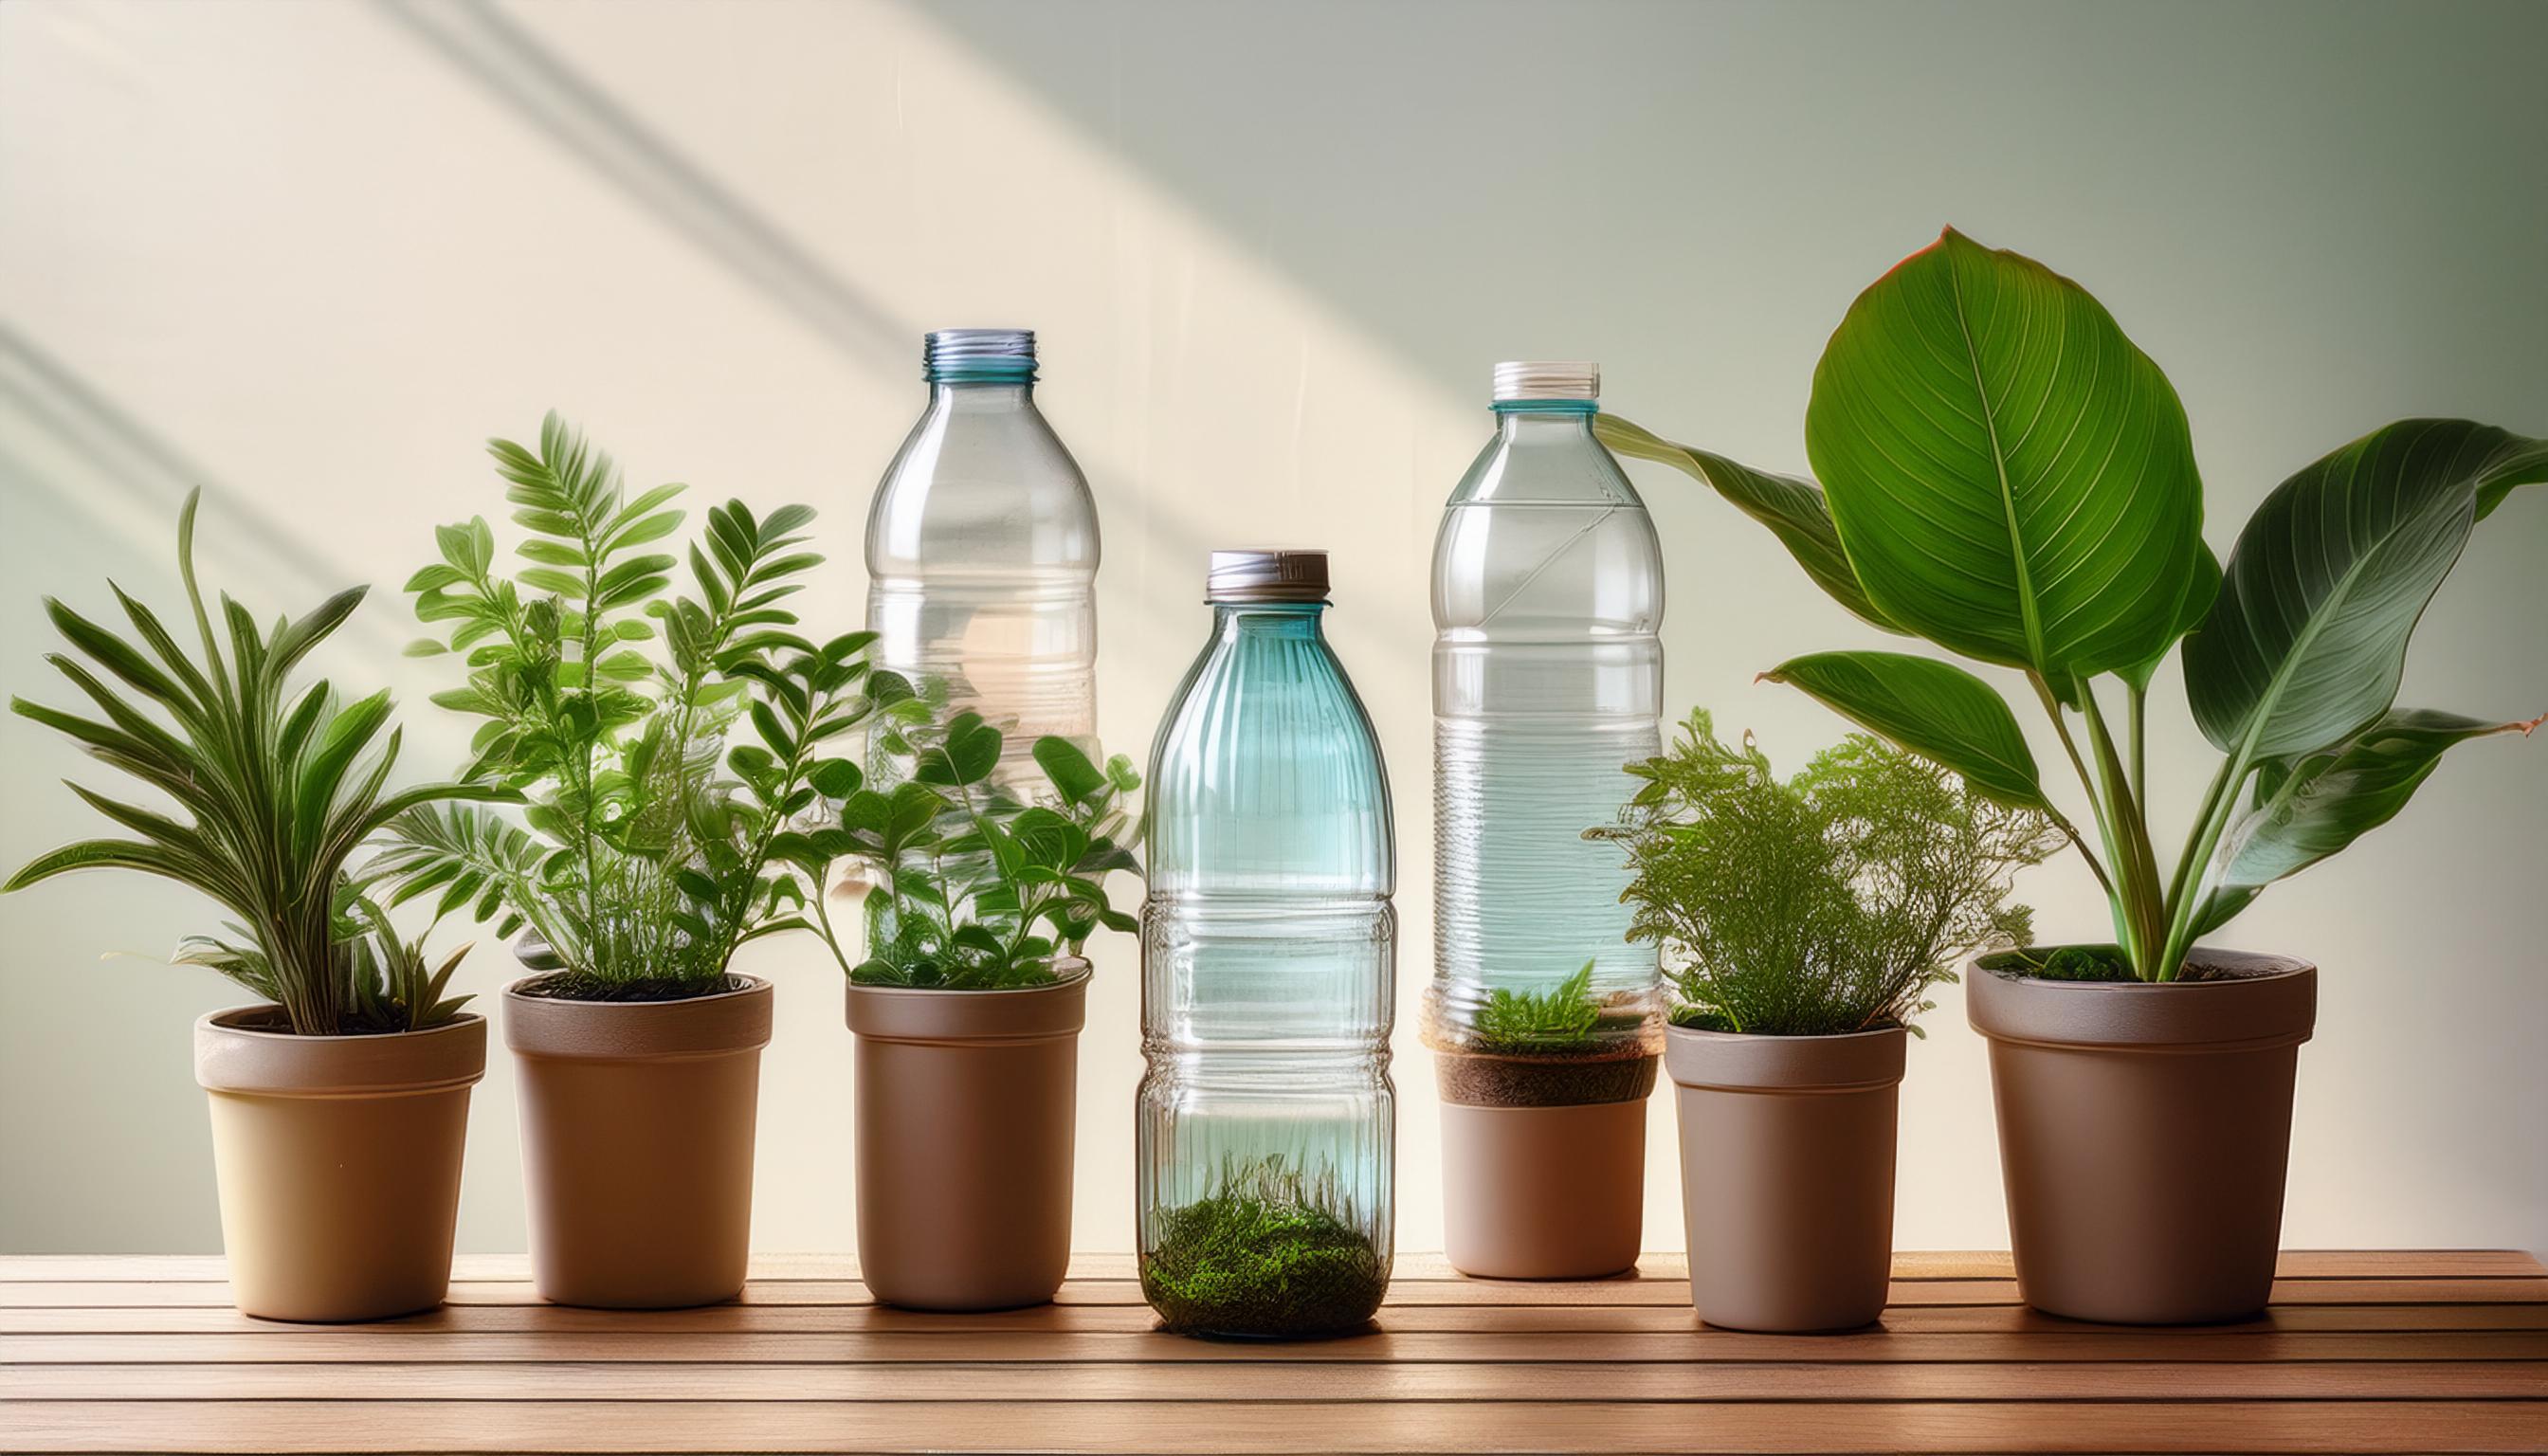
Repurpose Plastic Bottles Creative Planters and Organizers

Step 1
Modern society prioritizes mitigating plastic pollution. Instead of throwing away plastic bottles and bags, use DIY ideas to make them decorative and practical. Household plastic bottles make versatile planters and organisers. Read on as we guide you through simple DIY projects that breathe new life into these disposable containers.
DIY Plastic Bottle Planters and Organizers
Hanging Herb Haven
Make lovely hanging herb planters from plastic bottles to add greenery to your kitchen or outdoor area.
Step 2
Materials List:
- 2-litre plastic bottles (2-3)
- Sharp utility knife or scissors
- Twine or string
- Potting soil
- Herb seeds or seedlings
- Decorative items (optional): acrylic paint, markers, ribbons
Step 3
- Remove plastic bottle labels.
- Cut the bottom third of each bottle gently with a utility knife or scissors.
- Make drainage holes in the remaining bottle using a knife or sharp object.
- Paint, mark, or ribbon the bottles' exteriors.
- Put potting soil in bottle planters, leaving an inch or two at the top.
- Plant herb seeds or seedlings in soil.
- Use thread or twine for a bottleneck loop.
- Hang your pots and your herb garden is ready.
Customisation Ideas: Paint bottles and decorate them with ribbons, glitter, or stickers to make beautiful herb hangers.
Step 4
Tiered Seedling Starter
Create a multi-level planter with stacked plastic bottles to plant seeds and watch them develop into healthy seedlings before transferring.
Step 5
Materials List:
- 3-4 plastic bottles of varying sizes
- Sharp utility knife or scissors
- Potting soil
- Seeds of your choice
- Decorative items (optional): acrylic paint, markers, stickers
Step 6
- Remove plastic bottle labels.
- Cut the bottom third of each bottle with a utility knife or scissors to make different-sized levels.
- Make drainage holes in each bottle tier.
- Decorate the bottles' exteriors with paint, marker, or sticker.
- First, fill the largest bottle layer with potting soil, leaving an inch or two at the top.
- Follow the seed packaging directions to plant.
- Gently stack the next smaller bottle tier on top, filled with soil and seeds.
- Repeat the process with the remaining bottle tiers, creating a tiered planter.
- Place your tiered seedlings starting in the light, water frequently, and watch them develop!
Customisation Ideas: Mix bottle colours and sizes to create attractive tiered planters. Ribbons and stickers can customize your design.
Step 7
Wall-Mounted Succulent Sanctuary
Make creative wall planters from plastic bottles for your beloved succulents and tiny cacti.
Step 8
Materials List:
- Plastic bottles of various shapes and sizes
- Sharp utility knife or scissors
- Potting soil suitable for succulents
- Succulents or small cacti
- Decorative items (optional): acrylic paint, markers, glitter
- Strong adhesive or mounting hardware (for wall mounting)
Step 9
- To make different-sized planters, gently cut off the bottom third of each bottle using a utility knife or scissors.
- Drill bottle planter bottoms for drainage.
- Paint, draw, or glitter the bottles' exteriors.
- Fill bottle planters with succulent-friendly, well-draining soil.
- Carefully place succulents or tiny cacti in bottle planters.
- Use a strong adhesive or mounting hardware to securely attach the bottle planters to a wall in a desired pattern or arrangement.
- Water your succulent sanctuary sparingly, and enjoy the unique display!
Customisation Ideas: Try various bottle shapes and sizes to make a striking wall arrangement. You may paint or design bottles to match your home decor.
Step 11
Colourful Desk Organizer
Make a colourful and functional desk organizer using plastic bottles to arrange your workstation.
Step 12
Materials List:
- 2-3 plastic bottles of varying sizes
- Sharp utility knife or scissors
- Acrylic paint or markers (for decorating)
- Decorative items (optional): glitter, stickers, ribbons
- Strong adhesive or hot glue gun
Step 13
- Cut the bottle tops using a utility knife or scissors to construct different-sized containers.
- Apply acrylic paint, markers, glitter, stickers, or ribbons to bottle exteriors.
- Arrange the bottles on your desk or workspace.
- Create compartments for pens, pencils, paper clips, and other small objects by attaching the containers with strong adhesive or hot glue.
- Enjoy your bright and tidy desk!
Customisation Ideas: You can customise your desk organizer with paint and decorations. You can also experiment with various bottle shapes and sizes to create unique patterns.
Step 14
Upcycled Utensil Caddy
Make a fashionable and useful kitchen utensil caddy from a plastic bottle.
Step 15
Materials List:
- Large plastic bottle (1-2 litres)
- Sharp utility knife or scissors
- Acrylic paint or markers (for decorating)
- Decorative items (optional): ribbons, stickers, glitter
- Strong adhesive or hot glue gun (optional)
Step 16
- Clean and remove plastic bottle labels.
- Carefully cut the bottle cap using a utility knife or scissors to create an open container.
- To fit your kitchen, decorate the bottle with acrylic paint, markers, ribbons, stickers, or glitter.
- Use the recycled caddy to store your spatulas, whisks, spoons, etc., on your countertop.
Customisation Ideas: Try various bottle shapes and sizes to make distinctive utensil caddies. Personalized additions include painting or stencilling messages or drawings on the bottle.


Discussion (0)