Pamper Yourself Naturally: DIY Bath Bombs for Relaxation and Rejuvenation

Step 1
After a stressful day, nothing is as relaxing as a peaceful aromatic bath. To make your bath super entrancing, give yourself the gift of serenity with colourful, aromatic DIY bath bombs. Making your own bath bombs permits you to customise them exactly how you want, and they're more affordable than the commercial ones.
So skip the synthetic additives and revel in an all-herbal spa right at home. In this blog, we will discuss a way to make primary bathtub bombs, amusing variations to strive for, and recommendations for customising them to your liking.
Step 2
The Science Behind Bath Bombs
Bath bombs get their fizzy, bubbling reaction from a simple chemical reaction between baking soda (sodium bicarbonate) and an acid, in our case, citric acid. When bath bombs are added to water, the citric acid lowers the pH and causes the baking soda to release carbon dioxide gas. This makes them fizz and bubble when they come into contact with water. The preliminary fizzy reaction helps break apart the bath bomb and disperse the elements of the bath bomb into the water.
Step 3
DIY Bath Bomb Recipe
Now that we understand the science behind the fizz, let’s break down the how-to for making some DIY bathtub bombs.
Ingredients You Need:
- 1 cup citric acid
- 2 cups baking soda
- 1⁄4 cup Epsom salts
- 1⁄4 cup cornstarch
- 1 tablespoon olive, coconut, or almond oil
- Essential oils (including lavender, eucalyptus, rose, lemon, peppermint and many others.)
- Spray bottle with witch hazel
Step 4
Directions
- Mix the dry elements: In a bowl, add the citric acid, baking soda, Epsom salts, and cornstarch till properly blended. Break up any clumps.
- Add wet substances: Add carrier oil like olive or coconut oil. Then, add a few drops of your preferred essential oils and mix once more thoroughly. Remember, moderation is the key with essential oils. The oils will help the fragrance disperse easily and add moisturising benefits.
- Mixing well: Stir constantly until a crumbly sandcastle-like texture forms that clumps collectively whilst pressed.
- Form into balls: Use your arms to shape compact balls about 2 inches in diameter. The combination must be wet enough to stick together firmly without crumbling apart.
- Let dry completely: Place complete bathtub bombs onto parchment paper and allow to dry in a single day, at least 12-24 hours. Drying completely hardens them so that they keep their shape.
- Use and enjoy: Drop your masterpiece right into a warm bathtub and soak away your stress. Store extras in a hermetic box.
Step 5
Bath Bomb Variations
Once you grasp the DIY craft idea of the bath bomb-making process, the possibilities are endless for personalization! Here are some the ways to tailor bath bombs to your liking:
- Use natural tea. Chamomile tea has a pleasing yellow hue, while lavender or rose tea provides a light crimson tint. Brew a strong tea, sit back, and use.
- Try the usage of a 2:1 ratio of baking soda to cornstarch for bath bombs that fizz less dramatically. The cornstarch tempers the reaction.
- Substitute Epsom salts for sea salt, milk powder, or clay like bentonite or kaolin for a variant.
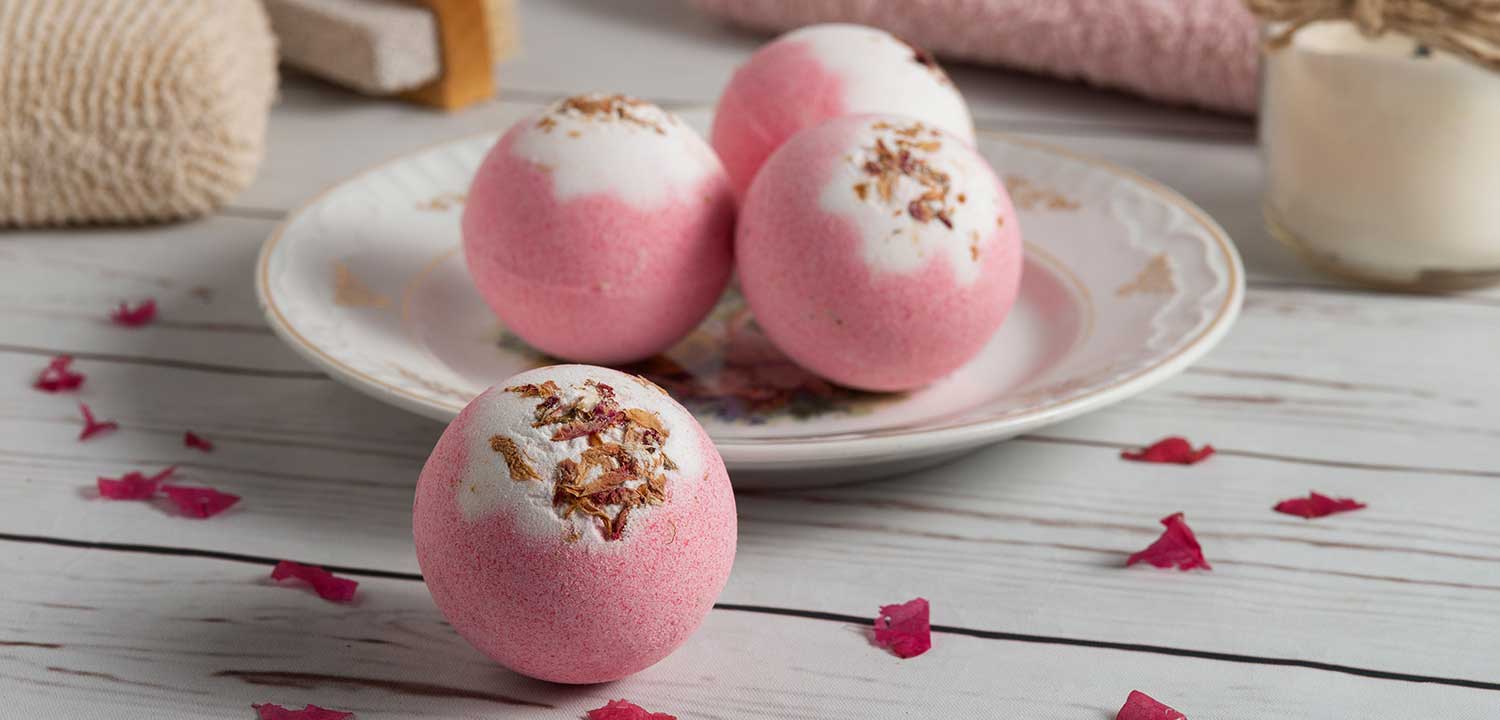
- For decorative designs, press dried plant life like rose buds, lavender, or flower petals into the floor of the tub bombs before drying.
- Use food colouring to dye your bath bombs extraordinary colours. Divide the bottom mixture into separate bowls first, colour each one, and then integrate shades for a marbled effect.
- Add skin-nourishing carrier oils like jojoba, diet E, or candy almond oil, or decadent ones like coconut, olive, or avocado oil.
After you master the primary process, the mixtures are limitless. Use moulds to make bath bombs in special shapes. Be innovative and discover your favourite go-to bath bomb recipe.
Step 6
Tips for Perfect Bath Bombs
Here are some tips to troubleshoot tub bombs and get them simply proper:
- Ensure all components are measured precisely for the proper chemical response.
- Use outside humidity as a manual. Drier climates require less moisture to bind, at the same time as humidity may additionally warrant much less witch hazel.
- Mix very well so all elements combine flippantly, keeping off clumping.
- Test the fizzing response with a pinch of combination in water before shaping all. Adjust the process if wished.
- Pack bath bombs firmly so there aren't any air pockets or weak factors at risk of crumbling.
- Allow 24-48 hours to harden earlier than the usage of for quality results.
- Avoid using bath bombs in very warm water, as they will fizz too quickly and fall apart quicker than desired. The ideal bath temperature is around 98-100 F.


Discussion (0)