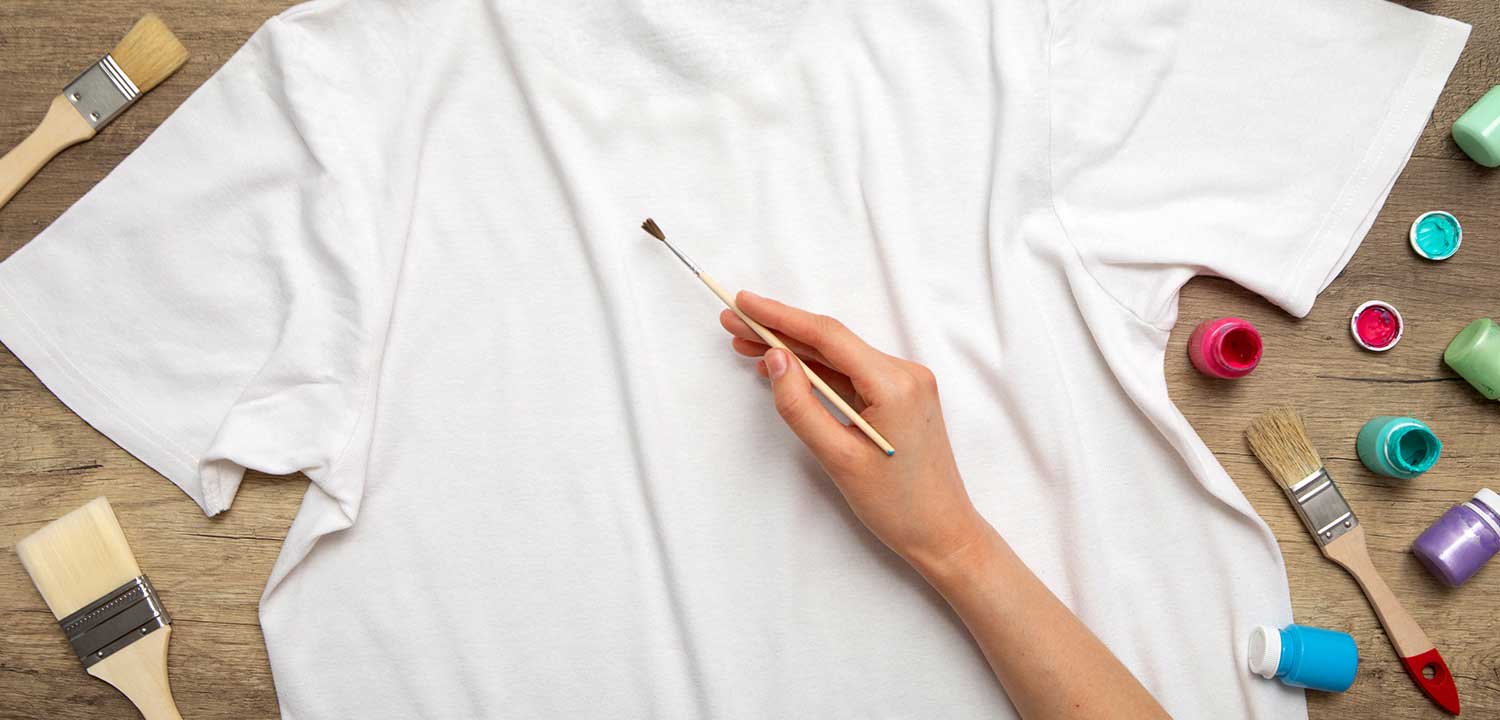
Customise Your Plain T-Shirts: Add Flair with Stencils, Fabric Paint, and More

Step 1
Breathe life into your wardrobe by doing some art and craft magic on plain T-shirts. These unpainted boards are canvases to add your signature style to your clothing. The tools of the trade-stencils, fabrics, paints, and creativity–are now your arsenal, for a fun DIY project. Tag along as we look into new tricks that are both simple and powerful to breathe new life into your simple workhorses.
Step 2
Step 1: Collect Your Tools
Before diving into your t-shirt customisation project, gather the following materials:
- Striped or non-printed T-shirts in different colours, as per your preference or availability.
- Stencils (ready-made or make-your-own) or templates.
- Fabric paints or multi-coloured markers for details.
- Paper painter’s tape or adhesive stencil tape for neatness.
- Paint Brushes or sponge brushes to add a pop of colour in a controlled yet creative manner.
- Fabric pens, threads, sequins, etc. to make different designs.
Step 3
Step 2: Get Creative!
Now that you have the material, let your creativity shine through.
- Get creative by looking through online stencil artwork for ideas or if you're feeling adventurous and artistic, create your unique patterns. For example, one can brainstorm using nature, shapes, animals, and even inspirational or sarcastic quotes as per your theme.
- Pick your design and decide its place on your t-shirt.
- Use tape or stencil adhesive to create an outline for yourself. This will ensure that your paints do not scatter around and ruin your T-shirt.
Step 4
Step 3: Utilise Stencil
Choose a unique stencil for your T-shirt and follow the instructions given below:
- Put your stencil on the shirt with tape or adhesive firmly.
- Dip your paintbrush or sponge in your favourite colours and apply it evenly all over the stencil.
- Doubling up on colours or using different stencils for an intricate design can add detail and depth for a fascinating appearance.
Step 5
Step 4: Add Personal Touches
Have fun and explore your creative horizons by decorating the T-shirt and making it uniquely yours with fabric pens, embroidery threads, sequins, or any other decoratives you like. You can delineate the stencil with an accented colour, add custom details by hand, or insert text or symbols that have a special significance to you. Your personal touches can also include quotes from your favourite movies or even your favourite fictional characters.
Step 6
Step 5: Let it Dry and Set
Your T-shirt is almost ready! Patience is a virtue, and soon, you will have an amazing handcrafted DIY in your wardrobe.
- Put your T-shirt to moisten as mentioned in the fabric tint packet.
- Apply stencil on the T-shirt when dry and then remove it gently to make your unique design visible.
- For your creation to last, make sure you get the fabric paint ready to use by following the recommended instructions on how it should be set using an iron or by letting it air dry for a specific period.
Step 7
Step 6: Show Off your Talent through Customised Fashion
After it is dry, the shirt is ready to be worn. Flaunt your customisation and proudly display it for others to witness the wonderful work of art you have created! Wearing your favourite handcrafted T-shirt is a versatile garment you can wear anywhere. However, we recommend that the ideal occasion for wearing such clothes is when you’re at the movies, at the airport or even when you’re just hanging out with your friends. Be prepared for loads of compliments and turning heads everywhere you go.
Additional Tips and Ideas
- Use various stencils and try different designs to keep your creative juices flowing.
- Maybe even try out freestyle art on your t-shirt.
- Be the gift master by gifting customised T-shirts to your friends on their special days.
- Use various mediums to unleash your creativity. These mediums can include puffy medium, sparkling colours, or even a blend of fabric paints to make unique colours.
- Try setting up a DIY t-shirt party with your family and friends to cheer the day up with a playful activity.
- Learn advanced DIY techniques such as tie-dye, fabric stamping, or bleach painting to be a pro and enjoy more freedom of uniqueness.


Discussion (0)